Generating PDF's with Express
November 3, 2016
2 min read
In this article, you'll find a fun little tutorial on how to create a PDF file using a web form, Express and PDFKit. To get started it'll use the express generator and after completing it you'll have a simple web form that generates a PDF file if the user clicks on the button Create PDF. I'll also point you in the right direction if you want to deploy the app using Now.
First, install the Express application generator:
yarn global add express-generator # or use npm
Then use this to generate a basic Express app:
express --view=pug form-to-pdf
Now go into this folder and install the dependencies using Yarn:
cd form-to-pdf
yarn
Next, add the dependency PDFKit
yarn add pdfkit
You can now start your app, using:
yarn start
Then go to http://localhost:3000 in your browser. You should see something like: Welcome to Express
Next, we're going to add our HTML using the templating engine Pug (formerly known as Jade). Open the file views/index.pug
and replace the existing code with the following:
extends layout
block content
  .row
    .col-md-8
      h1="Create a PDF"
      form.form-horizontal.well(method="post", action="/pdf")
          .form-group
              label.col-md-2.control-label File Name
              .col-md-10
                .input-group
                  input.form-control(type="text", name="filename", placeholder="File Name")
                  .input-group-addon=".pdf"
          .form-group
              label.col-md-2.control-label Text
              .col-md-10
                textarea.form-control(name="content", placeholder="Write some text for on your PDF!")
          .form-group
              .col-sm-offset-2.col-sm-10
                input.btn.btn-default(type="submit", value="Create PDF")
We also want to add some styling using Bootstrap and a theme from Bootswatch. In views/layout.pug add the following link directly above the existing link to style.css:
doctype html
html
    head
        title= title
        link(rel='stylesheet' href='https://cdnjs.cloudflare.com/ajax/libs/bootswatch/3.3.6/flatly/bootstrap.min.css')
        link(rel='stylesheet' href='/stylesheets/style.css')
    body
        block content
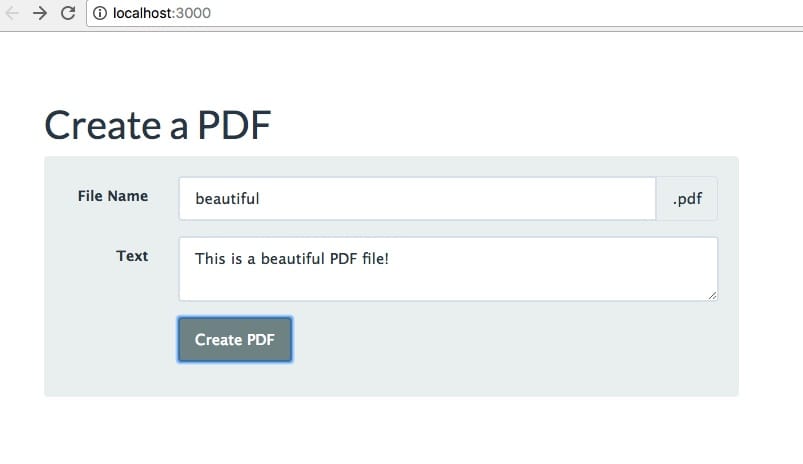
Now if you restart your app and visit http://localhost:3000 you should see a nicely formatted HTML form. Next, we're going to add the route for creating PDF files. Create the file routes/pdf and add the following code:
const express = require('express')
const router = express.Router()
const PDFDocument = require('pdfkit')
router.post('/', (req, res) => {
  const doc = new PDFDocument()
  let filename = req.body.filename
  // Stripping special characters
  filename = encodeURIComponent(filename) + '.pdf'
  // Setting response to 'attachment' (download).
  // If you use 'inline' here it will automatically open the PDF
  res.setHeader('Content-disposition', 'attachment; filename="' + filename + '"')
  res.setHeader('Content-type', 'application/pdf')
  const content = req.body.content
  doc.y = 300
  doc.text(content, 50, 50)
  doc.pipe(res)
  doc.end()
module.exports = router
Then open app.js and require the new pdf route file just below the existing routes and add it as a route:
// ...
var index = require('./routes/index');
var users = require('./routes/users');
var pdf = require(‘./routes/pdf’); // <-- add this line
// ...
app.use('/', index);
app.use('/users', users);
app.use('/pdf', pdf); // <-- add this line
//...
Your PDF rendering Express application is now ready for use! Start it with:
yarn start
I hope you enjoyed this tutorial and feel free to ask me any questions. You can also deploy your Form to PDF app using Now. It's easy and takes only a few seconds. Instructions can be found here.